
Crafting the Perfect Sourdough Bread from Scratch


Introduction to Sourdough Bread
Sourdough bread, with its distinct tangy flavor and chewy texture, has been a staple in kitchens for centuries. Unlike breads made with commercial yeast, sourdough relies on a natural fermentation process, giving it a unique taste and nutritional benefits. Crafting the perfect sourdough bread from scratch may seem daunting, but with a little patience and understanding, anyone can master this timeless art.
Understanding the Sourdough Starter
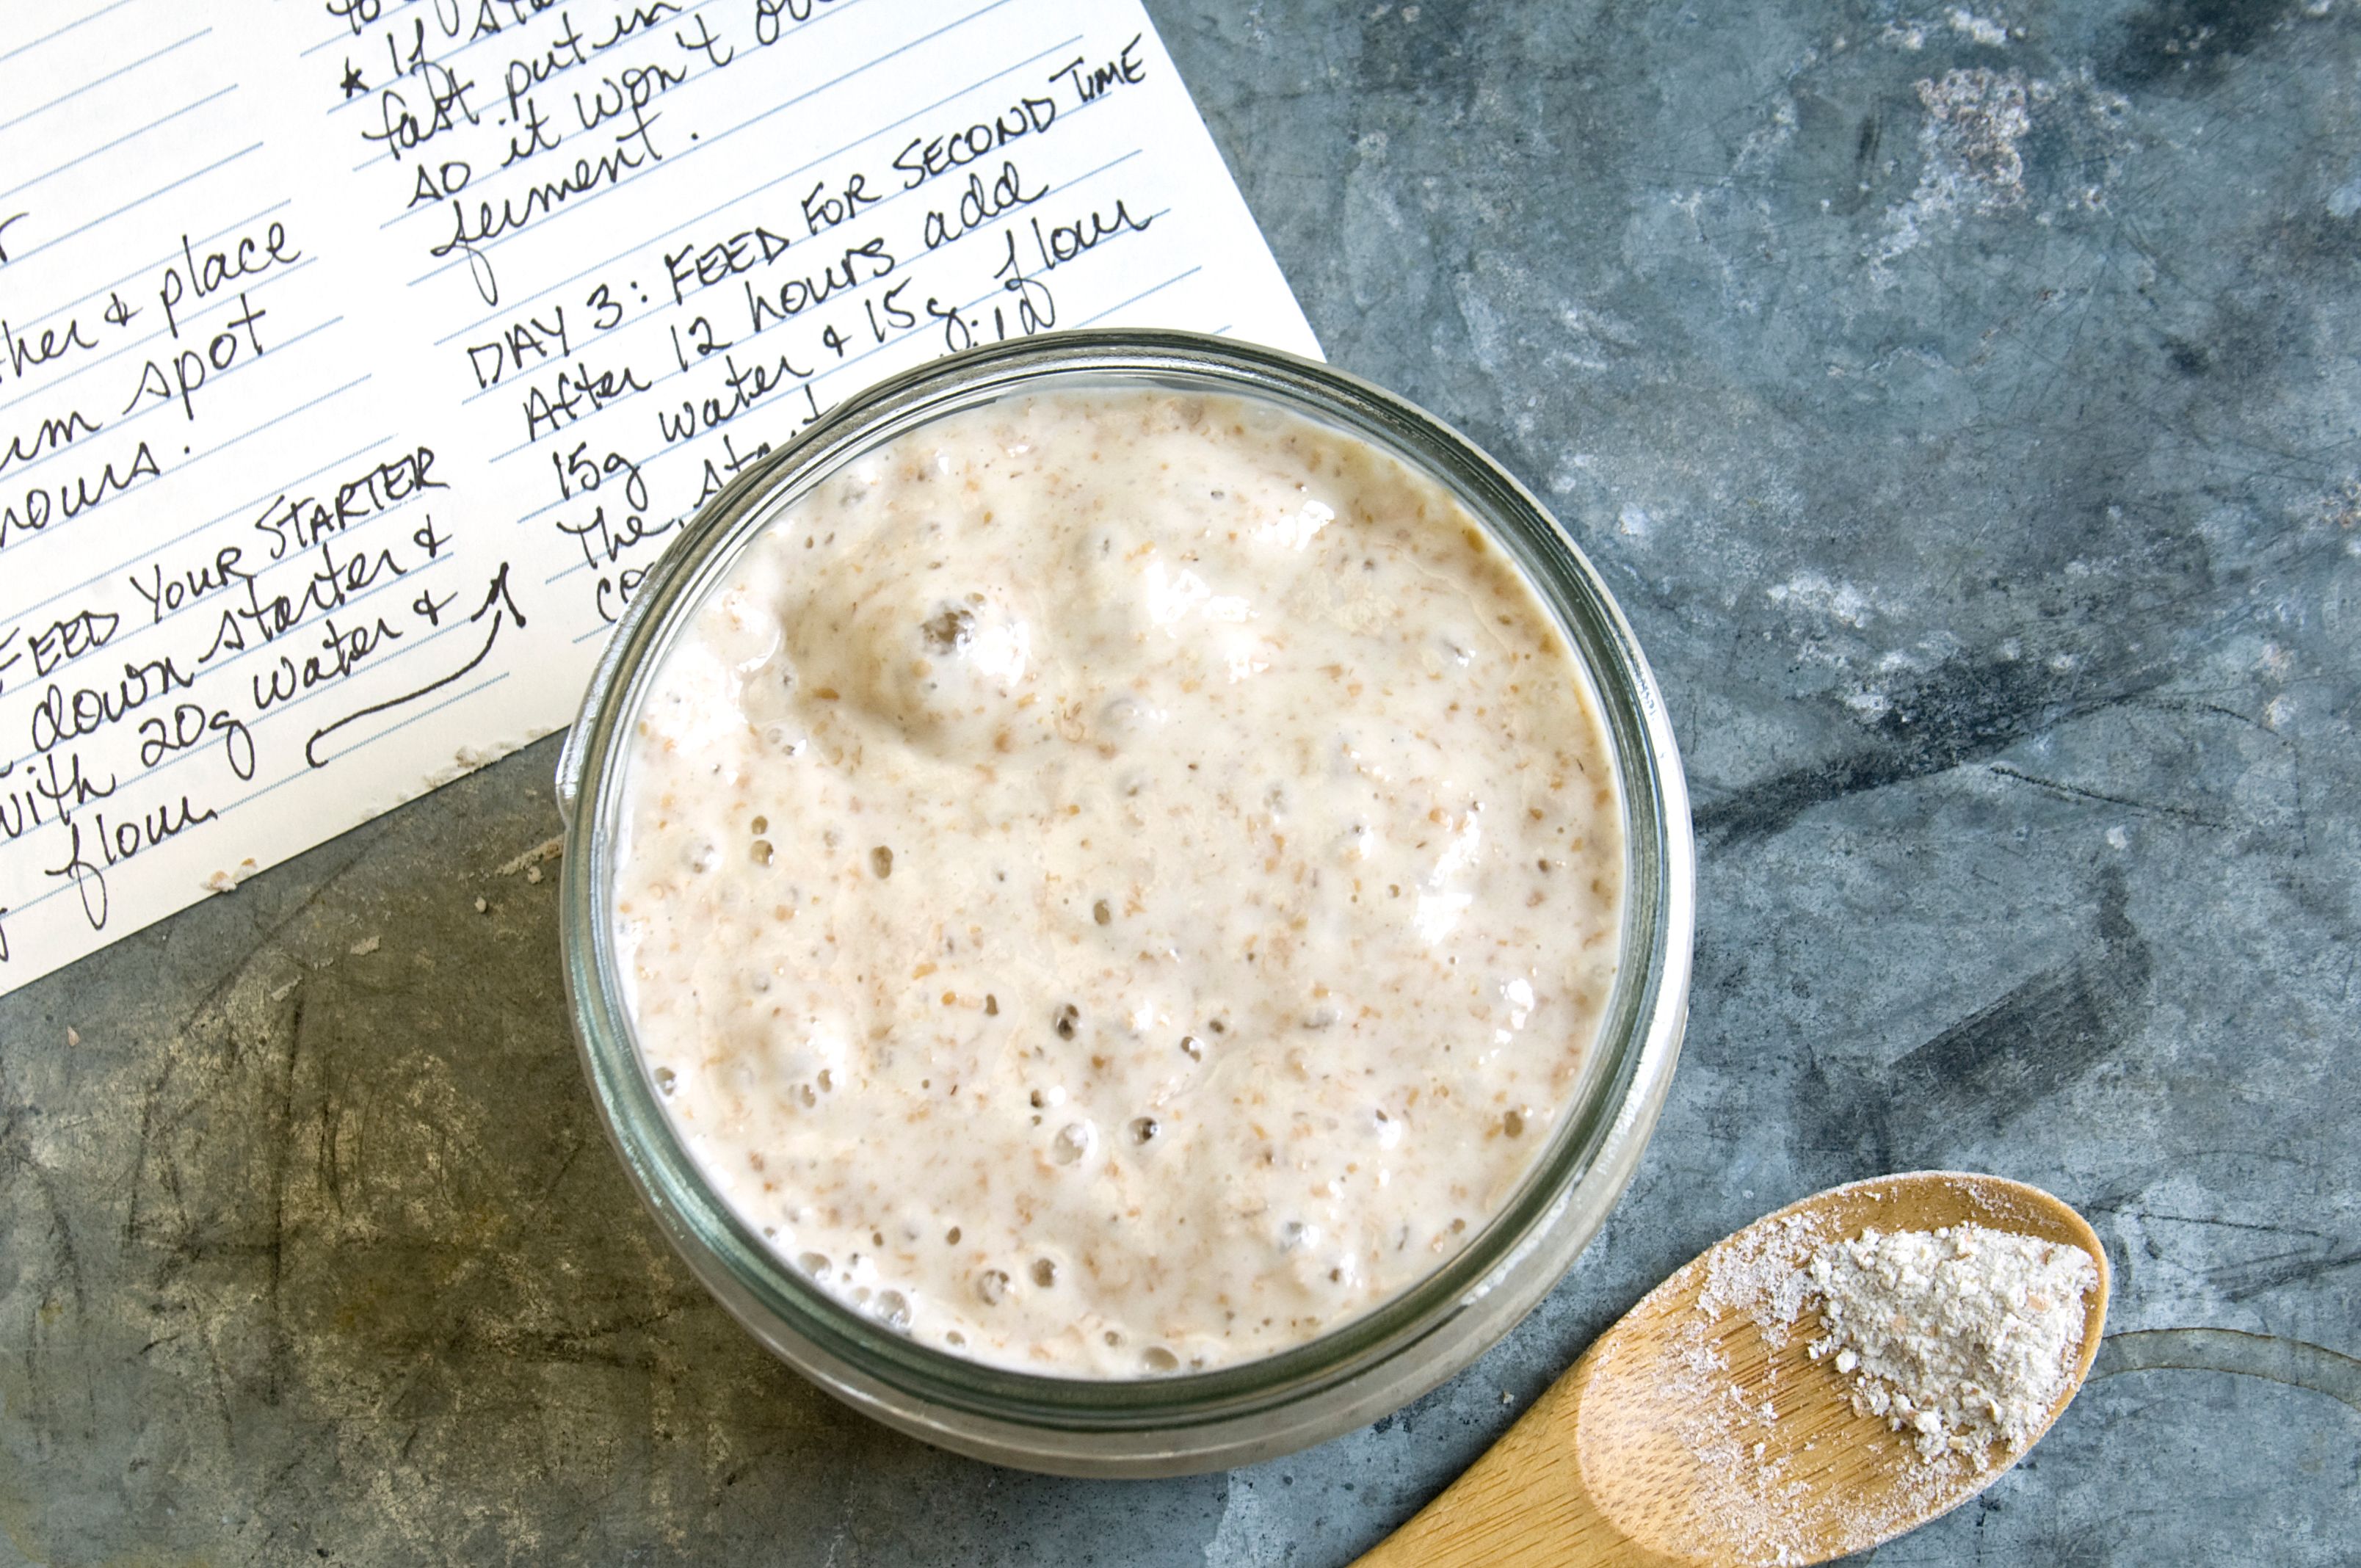
The heart of sourdough bread lies in its starter. A sourdough starter is a live culture of flour and water that captures wild yeast and bacteria from the environment. This mixture ferments over time, becoming the natural leavening agent that gives sourdough its rise and flavor.
To create your own starter, combine equal parts of flour and water in a jar and let it sit at room temperature. Feed it daily with fresh flour and water, and within a week, you'll have a bubbly, active starter ready for baking. Remember, a healthy starter is key to successful sourdough bread.
Essential Ingredients and Tools
Crafting sourdough requires just a few simple ingredients: flour, water, salt, and your homemade starter. However, the type of flour you choose can impact the flavor and texture of your bread. Many bakers prefer to use a combination of all-purpose flour and whole wheat flour for its balanced taste and structure.

In addition to ingredients, having the right tools can make the process smoother. A mixing bowl, dough scraper, kitchen scale, and a Dutch oven or baking stone are essential for achieving the perfect loaf. These tools will help you mix, shape, and bake your dough with precision.
The Art of Mixing and Folding
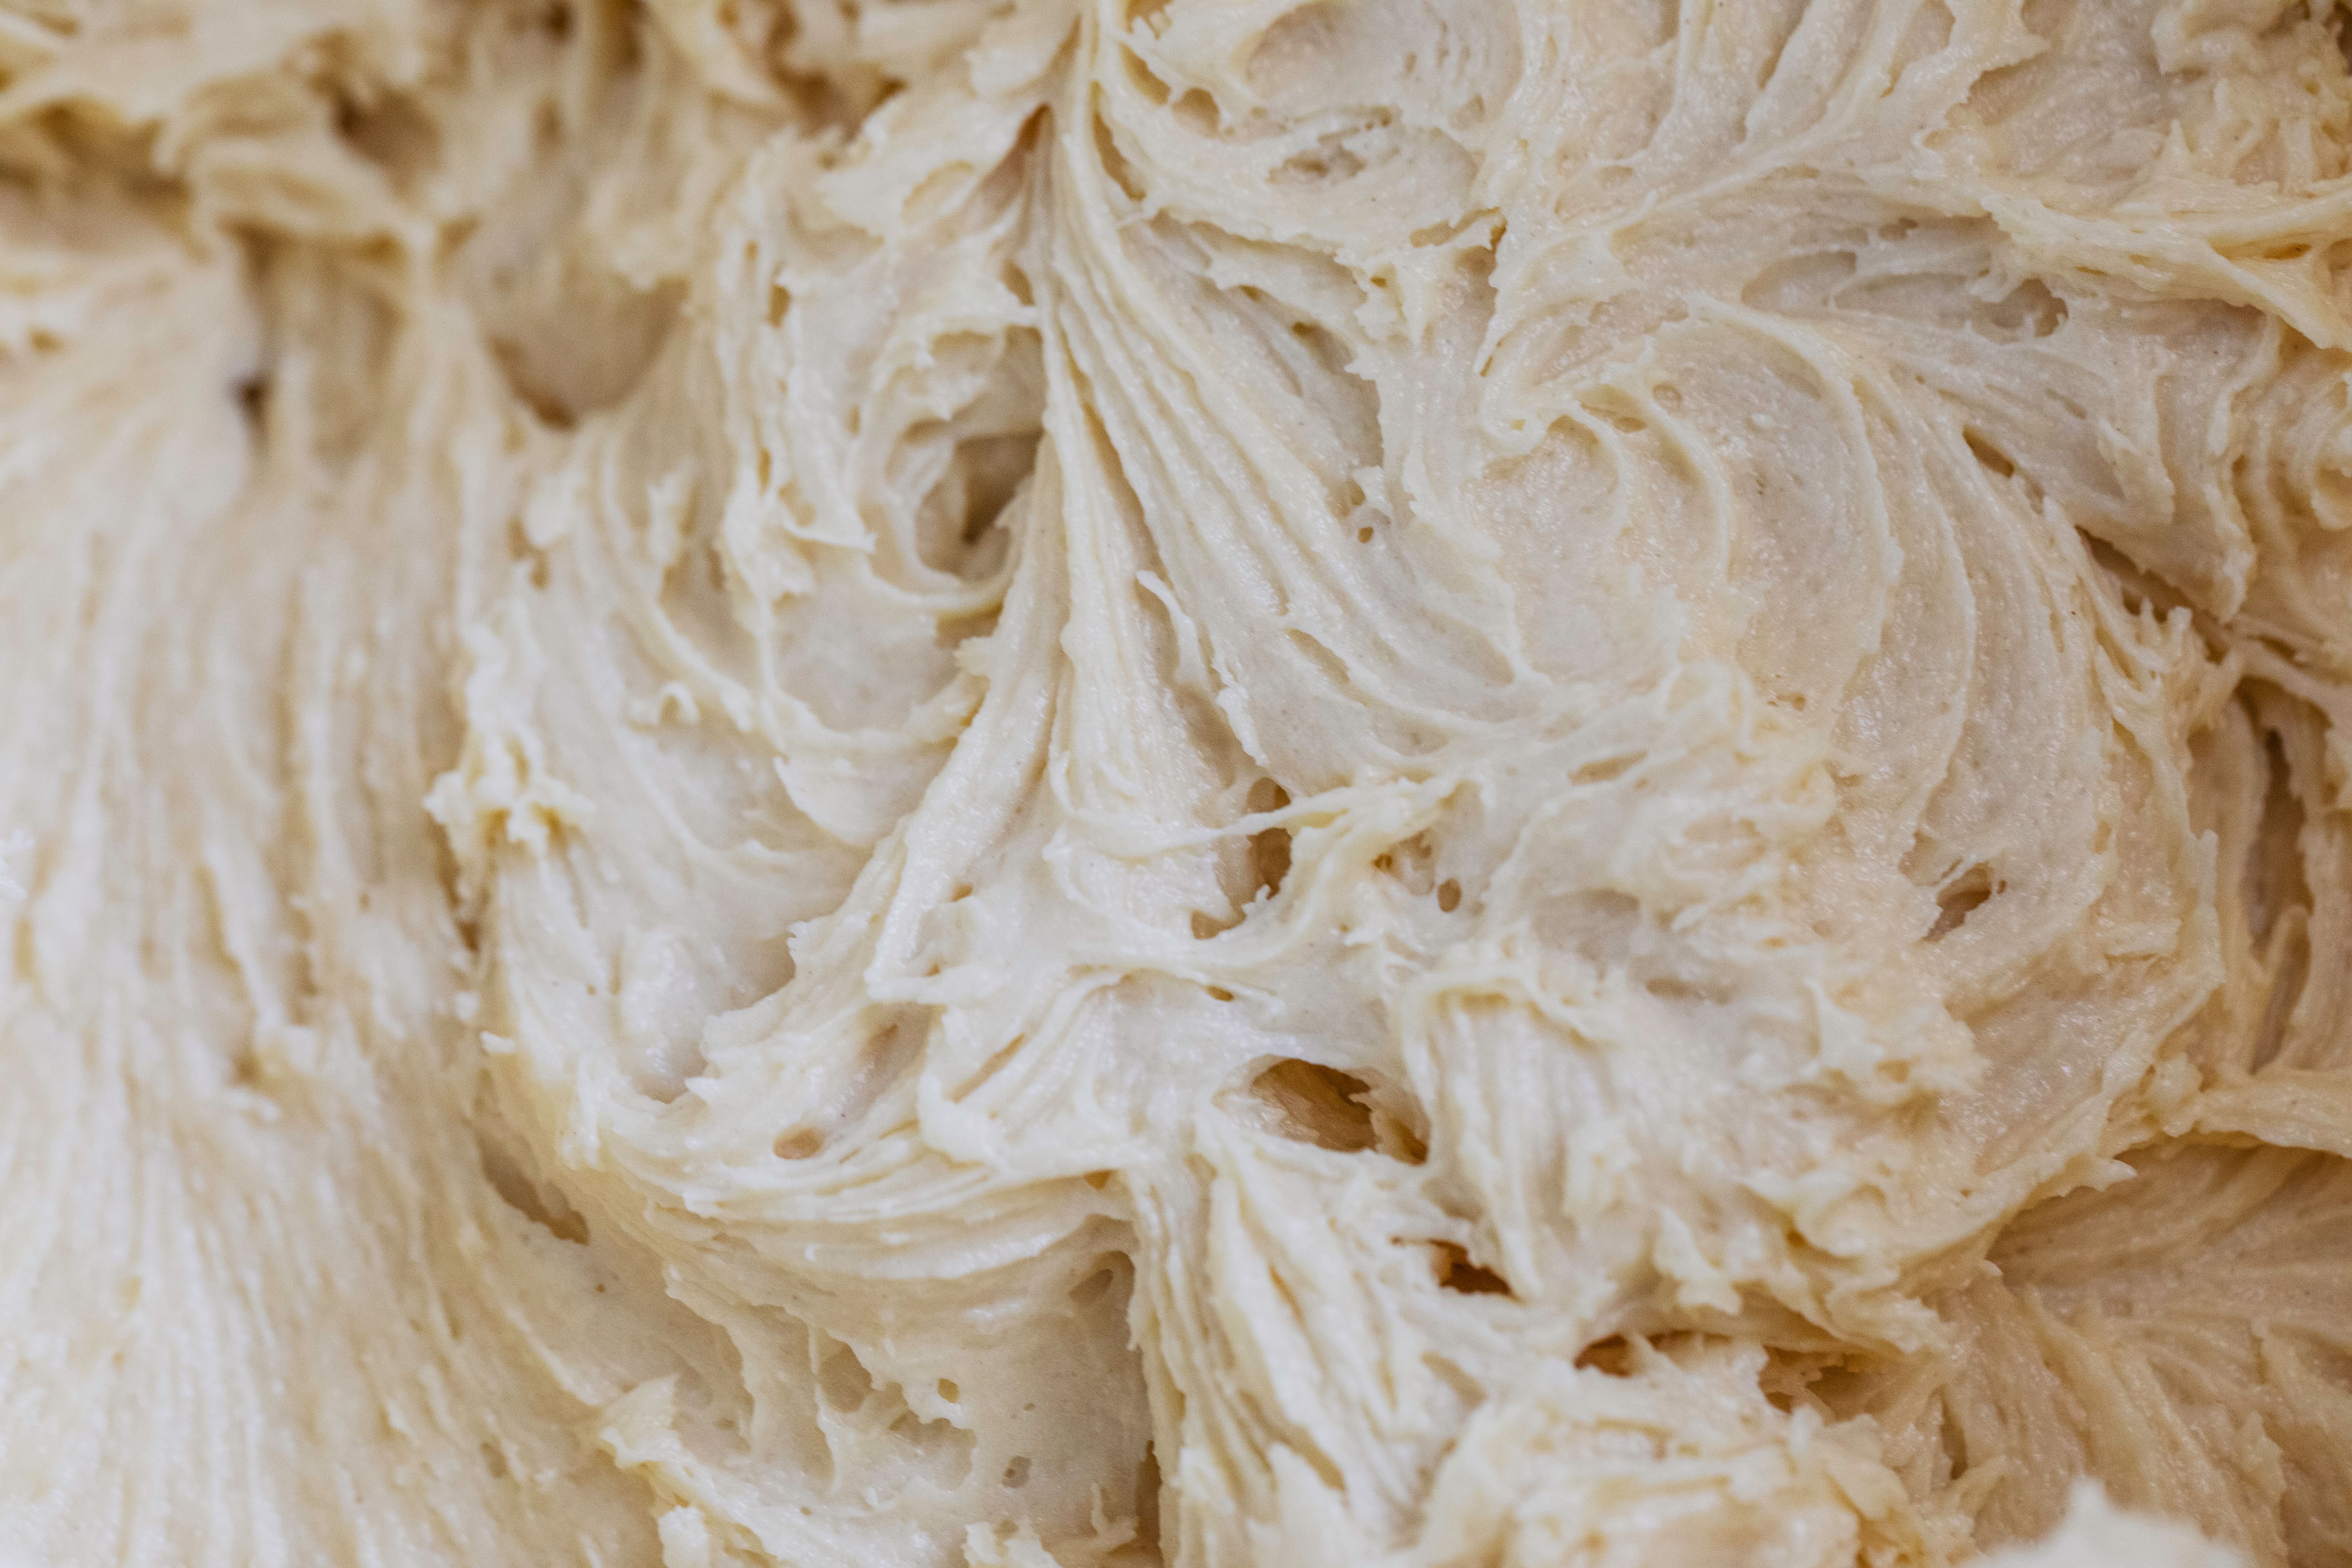
Once your starter is ready and you have gathered your ingredients and tools, it's time to mix the dough. Begin by combining flour, water, and starter in a bowl until there are no dry spots. Allow the mixture to rest in a process called autolyse, which helps develop gluten.
After resting, add salt and incorporate it into the dough. Instead of kneading, sourdough benefits from a series of folds during the bulk fermentation stage. This gentle technique strengthens the dough without overworking it.
Shaping and Proofing
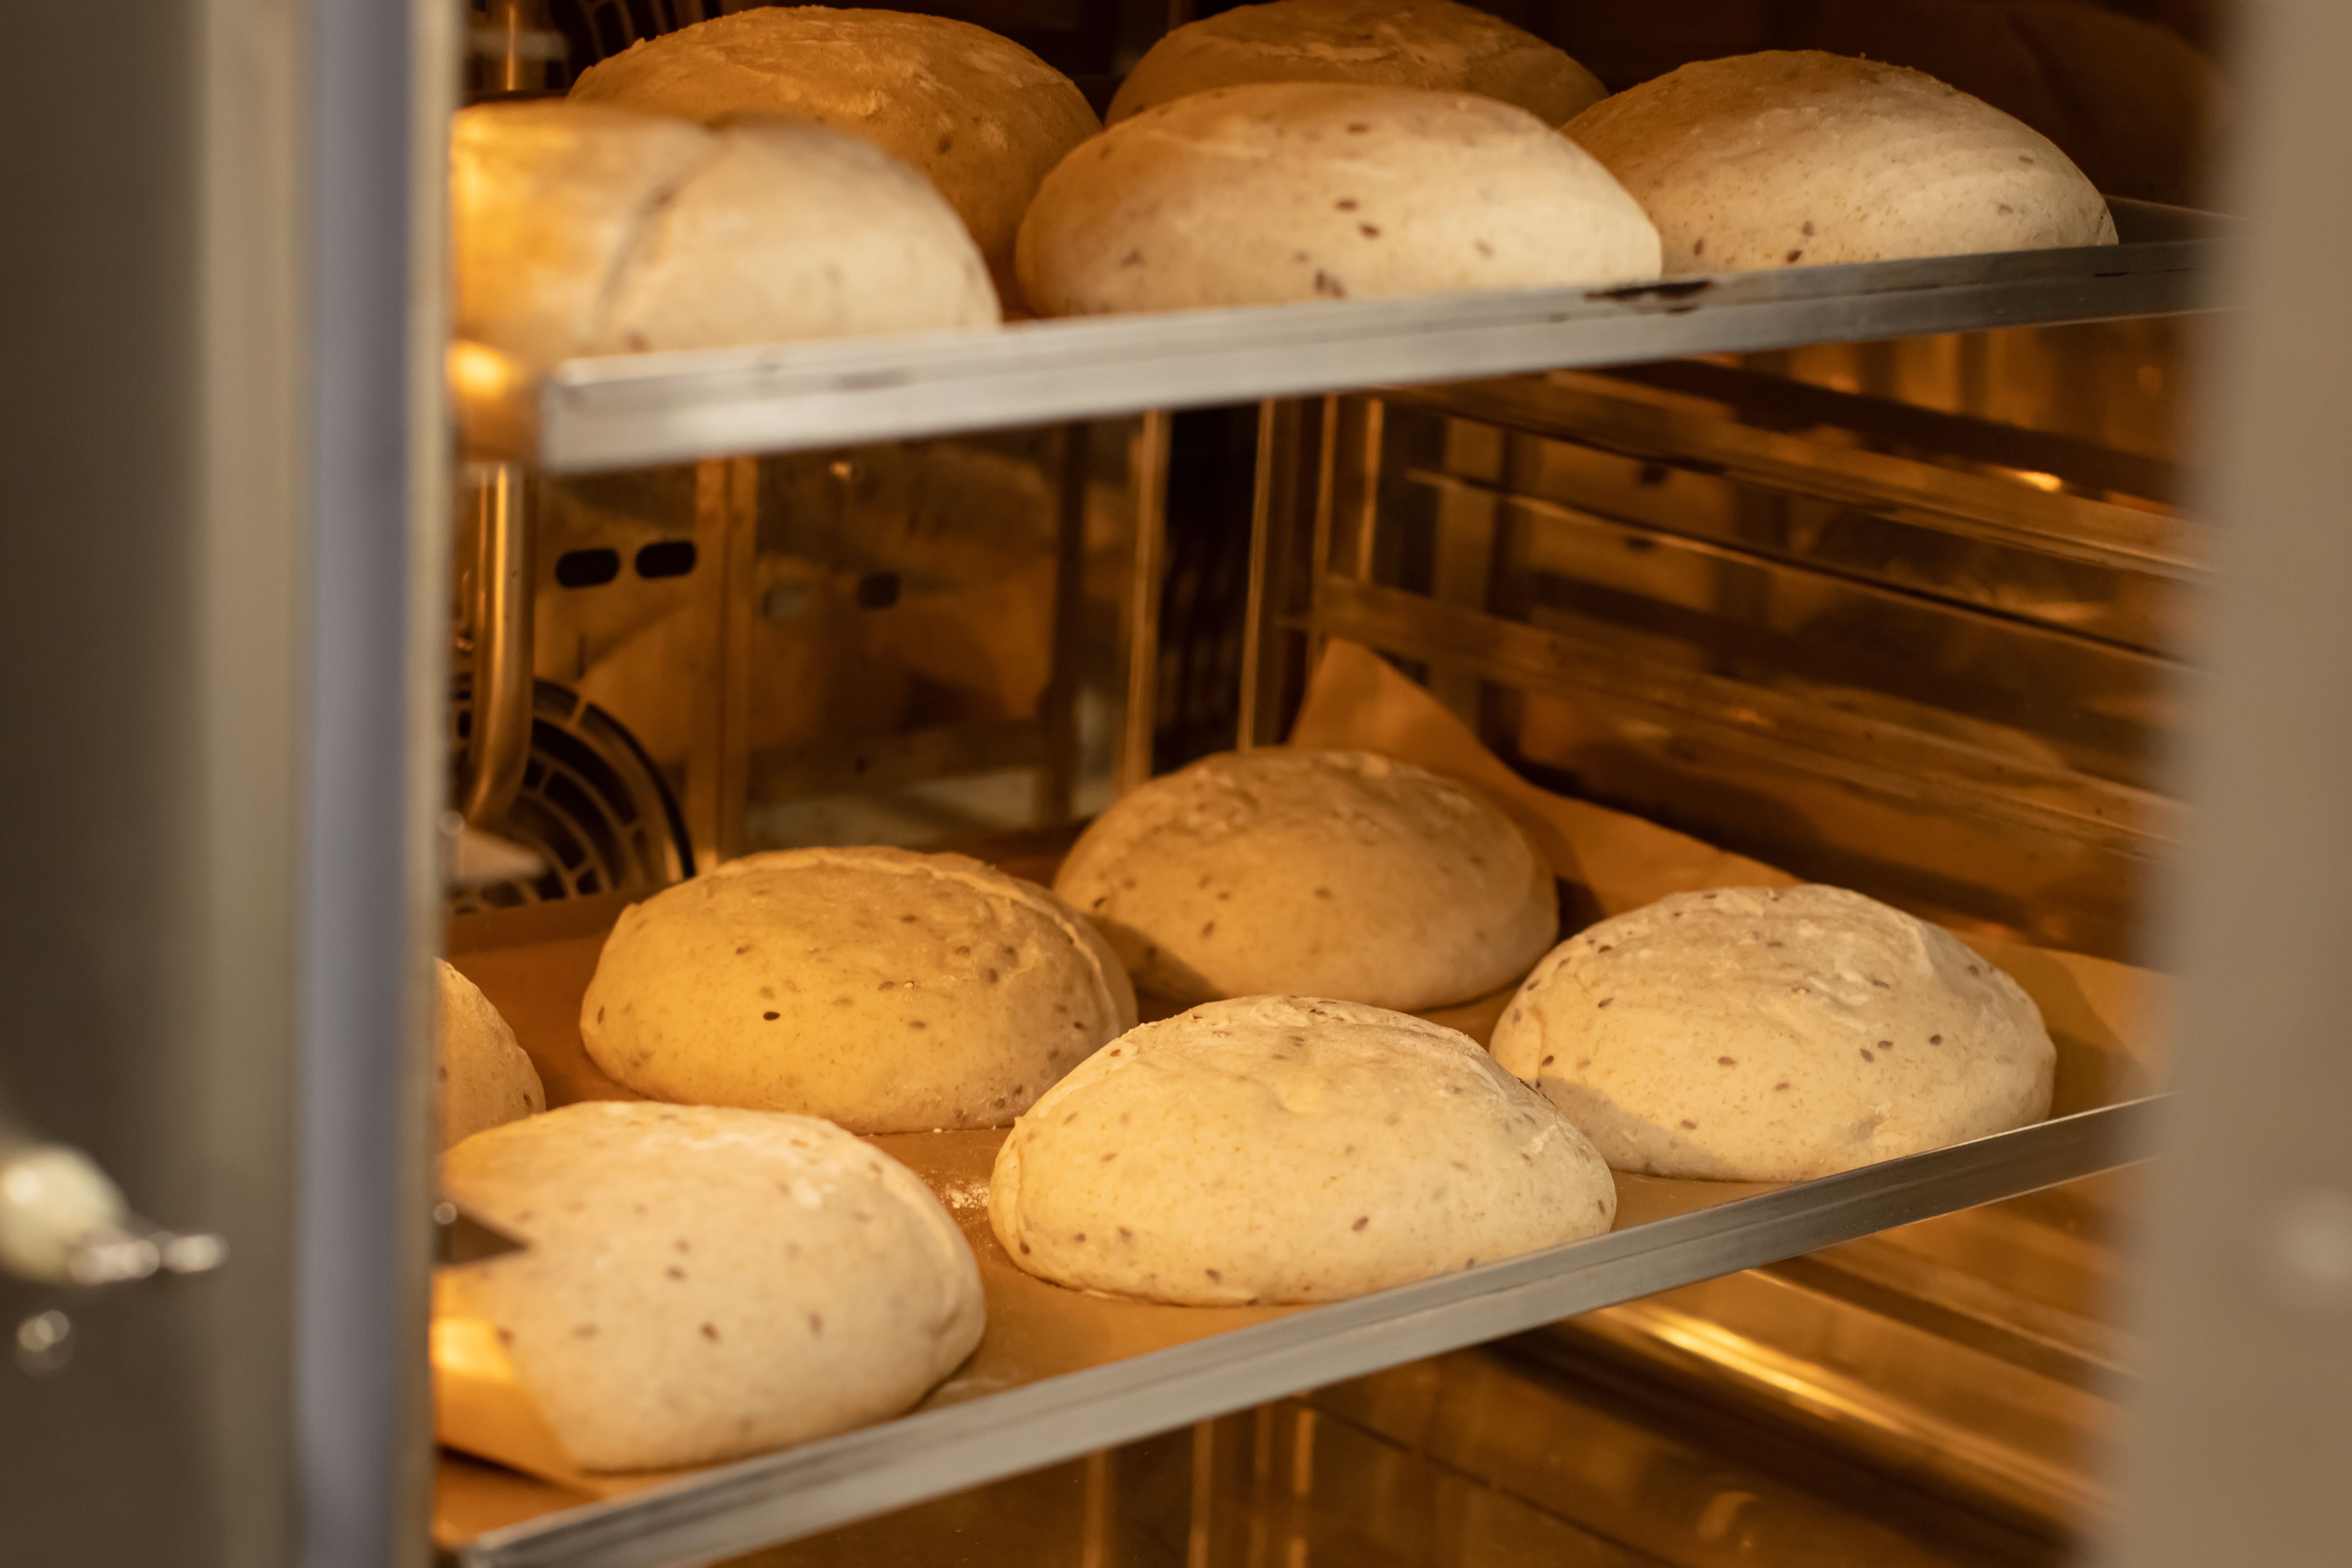
Once the dough has undergone its first rise, it's time to shape it. This step is crucial for creating structure and surface tension that helps the bread rise uniformly. Gently shape the dough into a round or oval loaf, depending on your preference.
After shaping, the dough needs its final proofing or second rise. This can be done at room temperature or in the refrigerator for a longer, more flavorful fermentation. A well-proofed dough will be slightly puffy and ready for baking.
Baking Your Sourdough Bread
The moment you've been waiting for has arrived: baking your sourdough bread. Preheat your oven along with a Dutch oven or baking stone to create a hot baking environment. This intense heat is essential for achieving the perfect crust.
Carefully transfer your proofed dough into the preheated vessel and score the top to allow steam to escape during baking. Bake for about 20 minutes with the lid on to trap steam, then remove it to let the crust develop a golden color.
Conclusion: Enjoying Your Homemade Sourdough
After baking, allow your sourdough bread to cool before slicing to ensure the crumb sets properly. The result is a beautifully crafted loaf with a crisp crust and tender interior. Enjoy it with butter, as part of a sandwich, or simply on its own to savor the complex flavors developed through natural fermentation.
Baking sourdough bread from scratch is not just about following a recipe; it's about embracing a time-honored tradition that connects us to our culinary roots. With practice and patience, you too can master the art of sourdough baking.