
The Art of Bread Making: A Step-by-Step Guide


Introduction to Bread Making
Bread making is an age-old craft that combines the simplicity of basic ingredients with the complexity of technique and timing. Whether you're a novice or an experienced baker, the process of creating a fresh loaf of bread can be both therapeutic and rewarding. In this guide, we'll walk you through the essential steps to master the art of bread making.
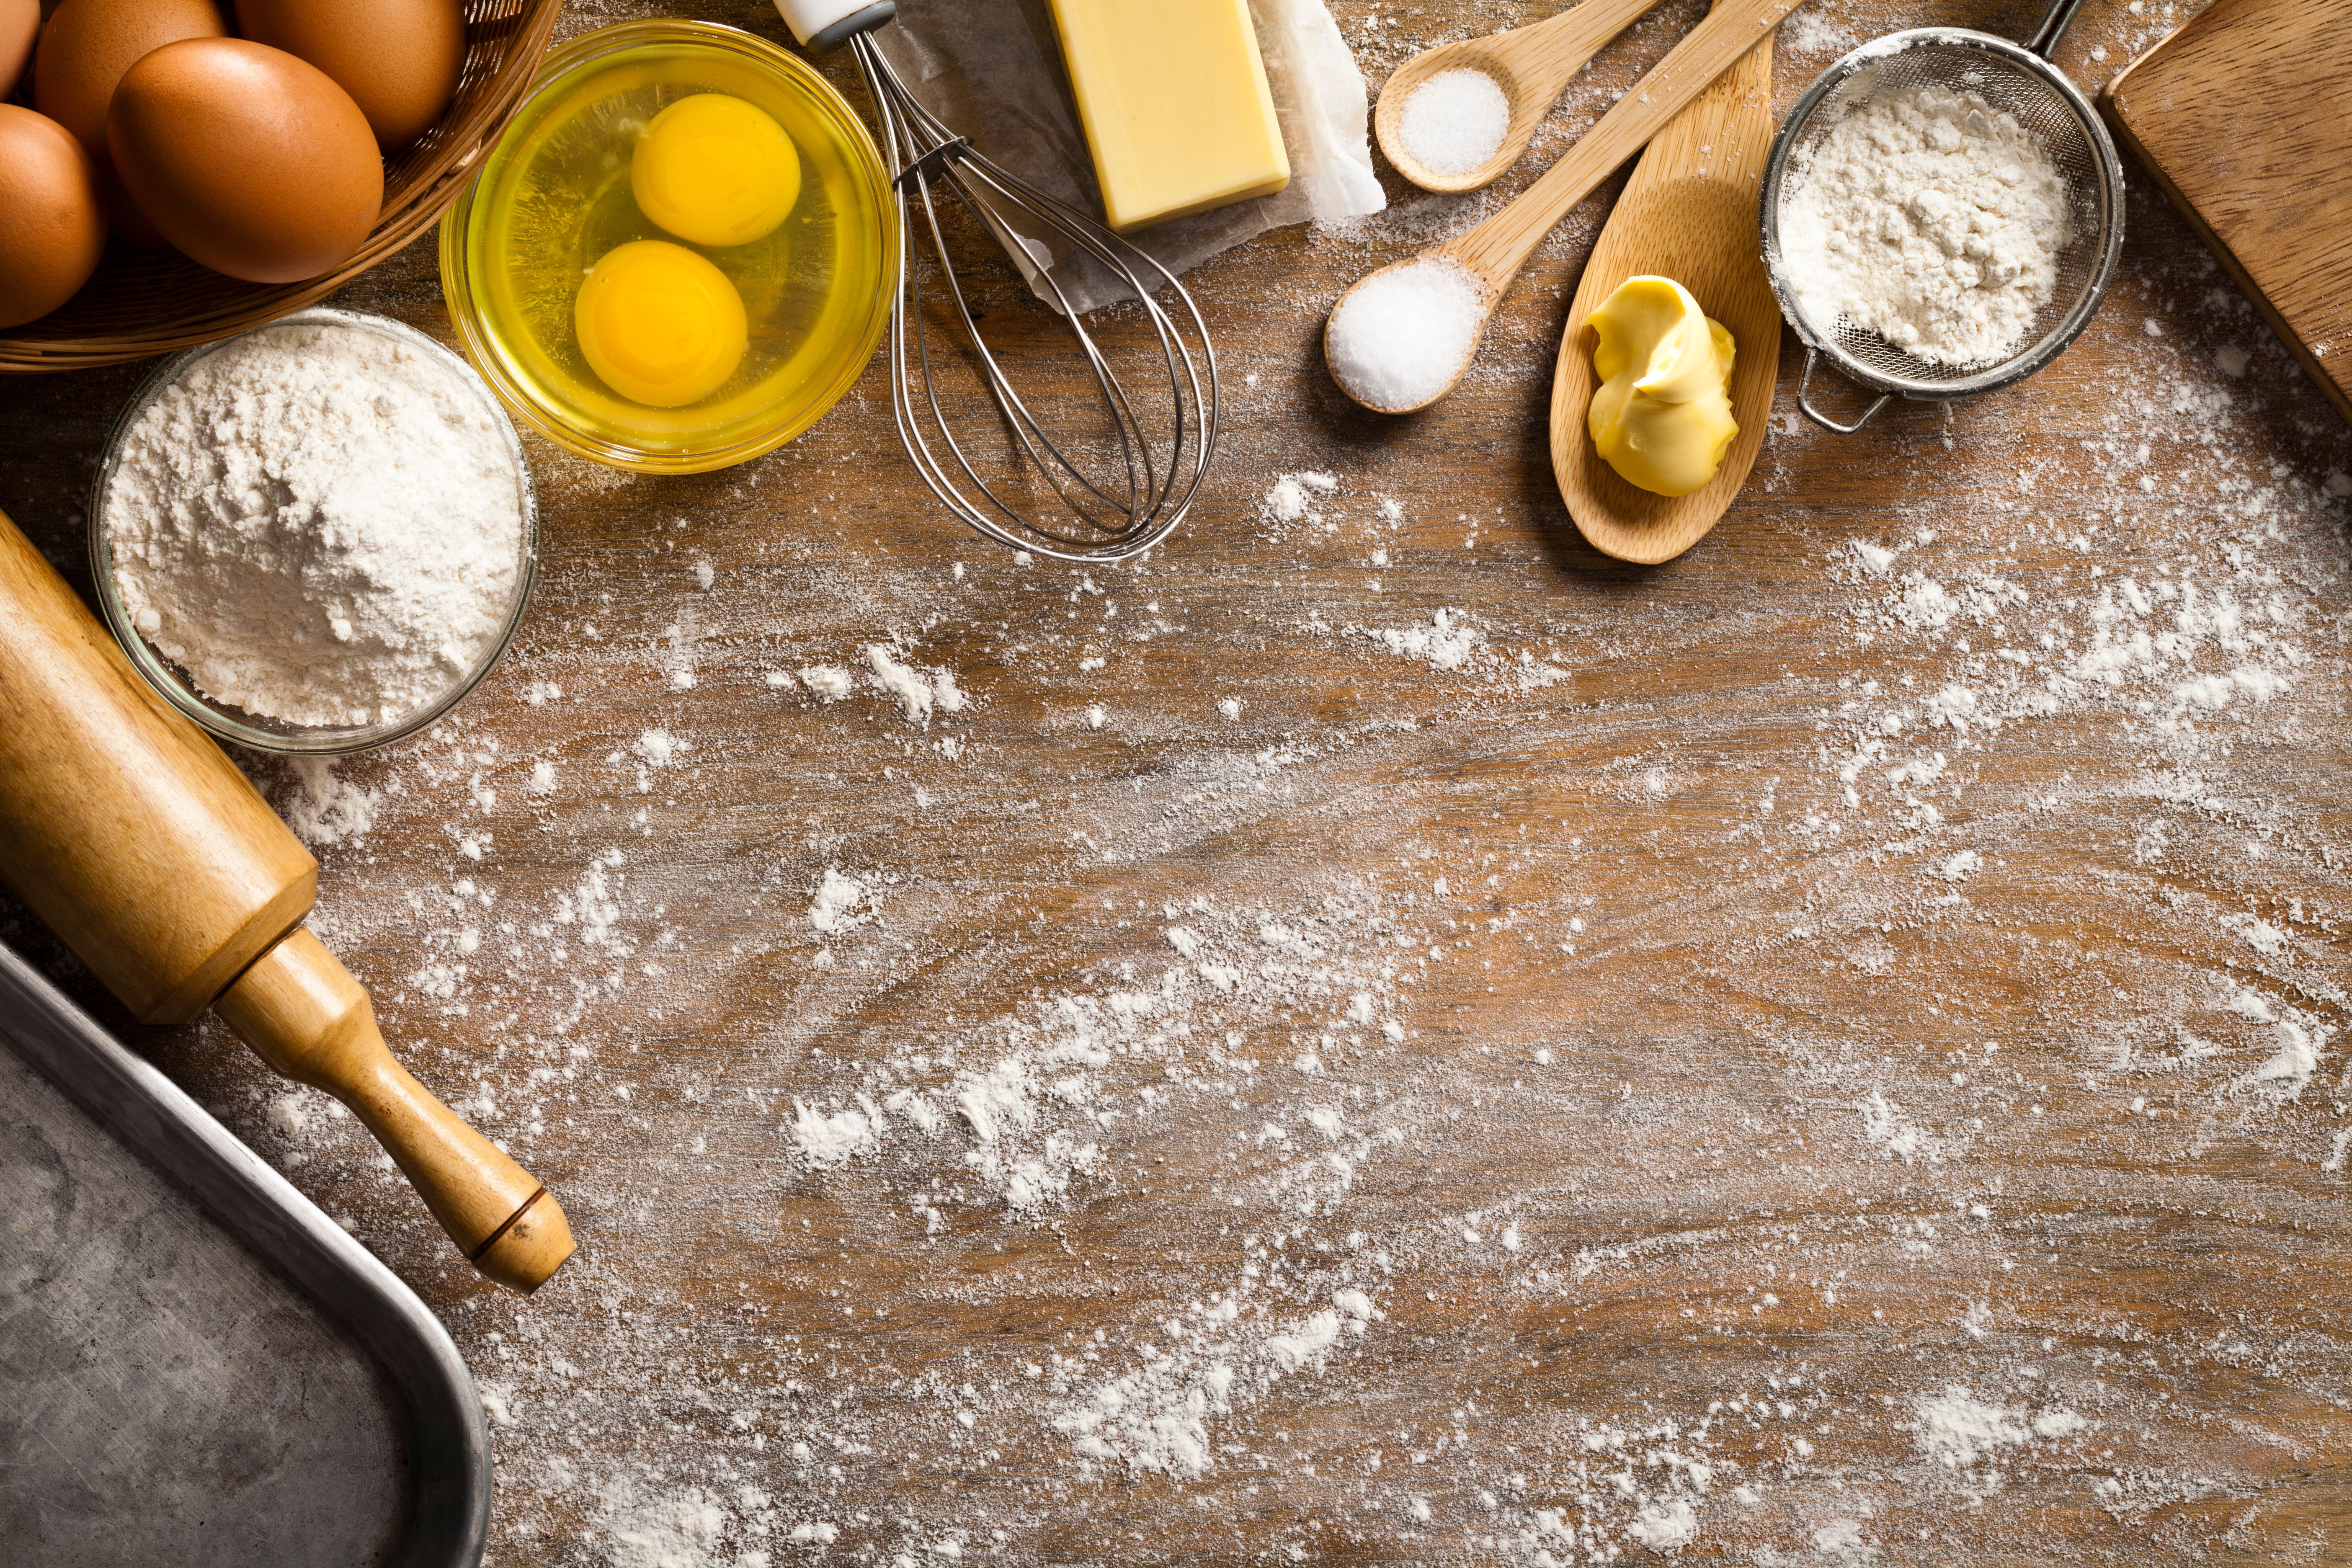
Understanding the science behind the ingredients is crucial. Bread typically consists of four main components: flour, water, yeast, and salt. Each ingredient plays a vital role in the texture and flavor of the final product. Let's delve deeper into each step of the process.
The Ingredients Matter
Choosing the right flour is the first step in bread making. While all-purpose flour can work for many recipes, bread flour, with its higher protein content, is ideal for achieving that chewy texture. Water, another critical ingredient, should be at the right temperature to activate the yeast effectively.
Yeast is the magic behind bread rising. It ferments the sugars in the dough, producing carbon dioxide and alcohol, which causes the dough to expand. Lastly, a pinch of salt is essential to strengthen the gluten structure and enhance flavor.
Mixing and Kneading
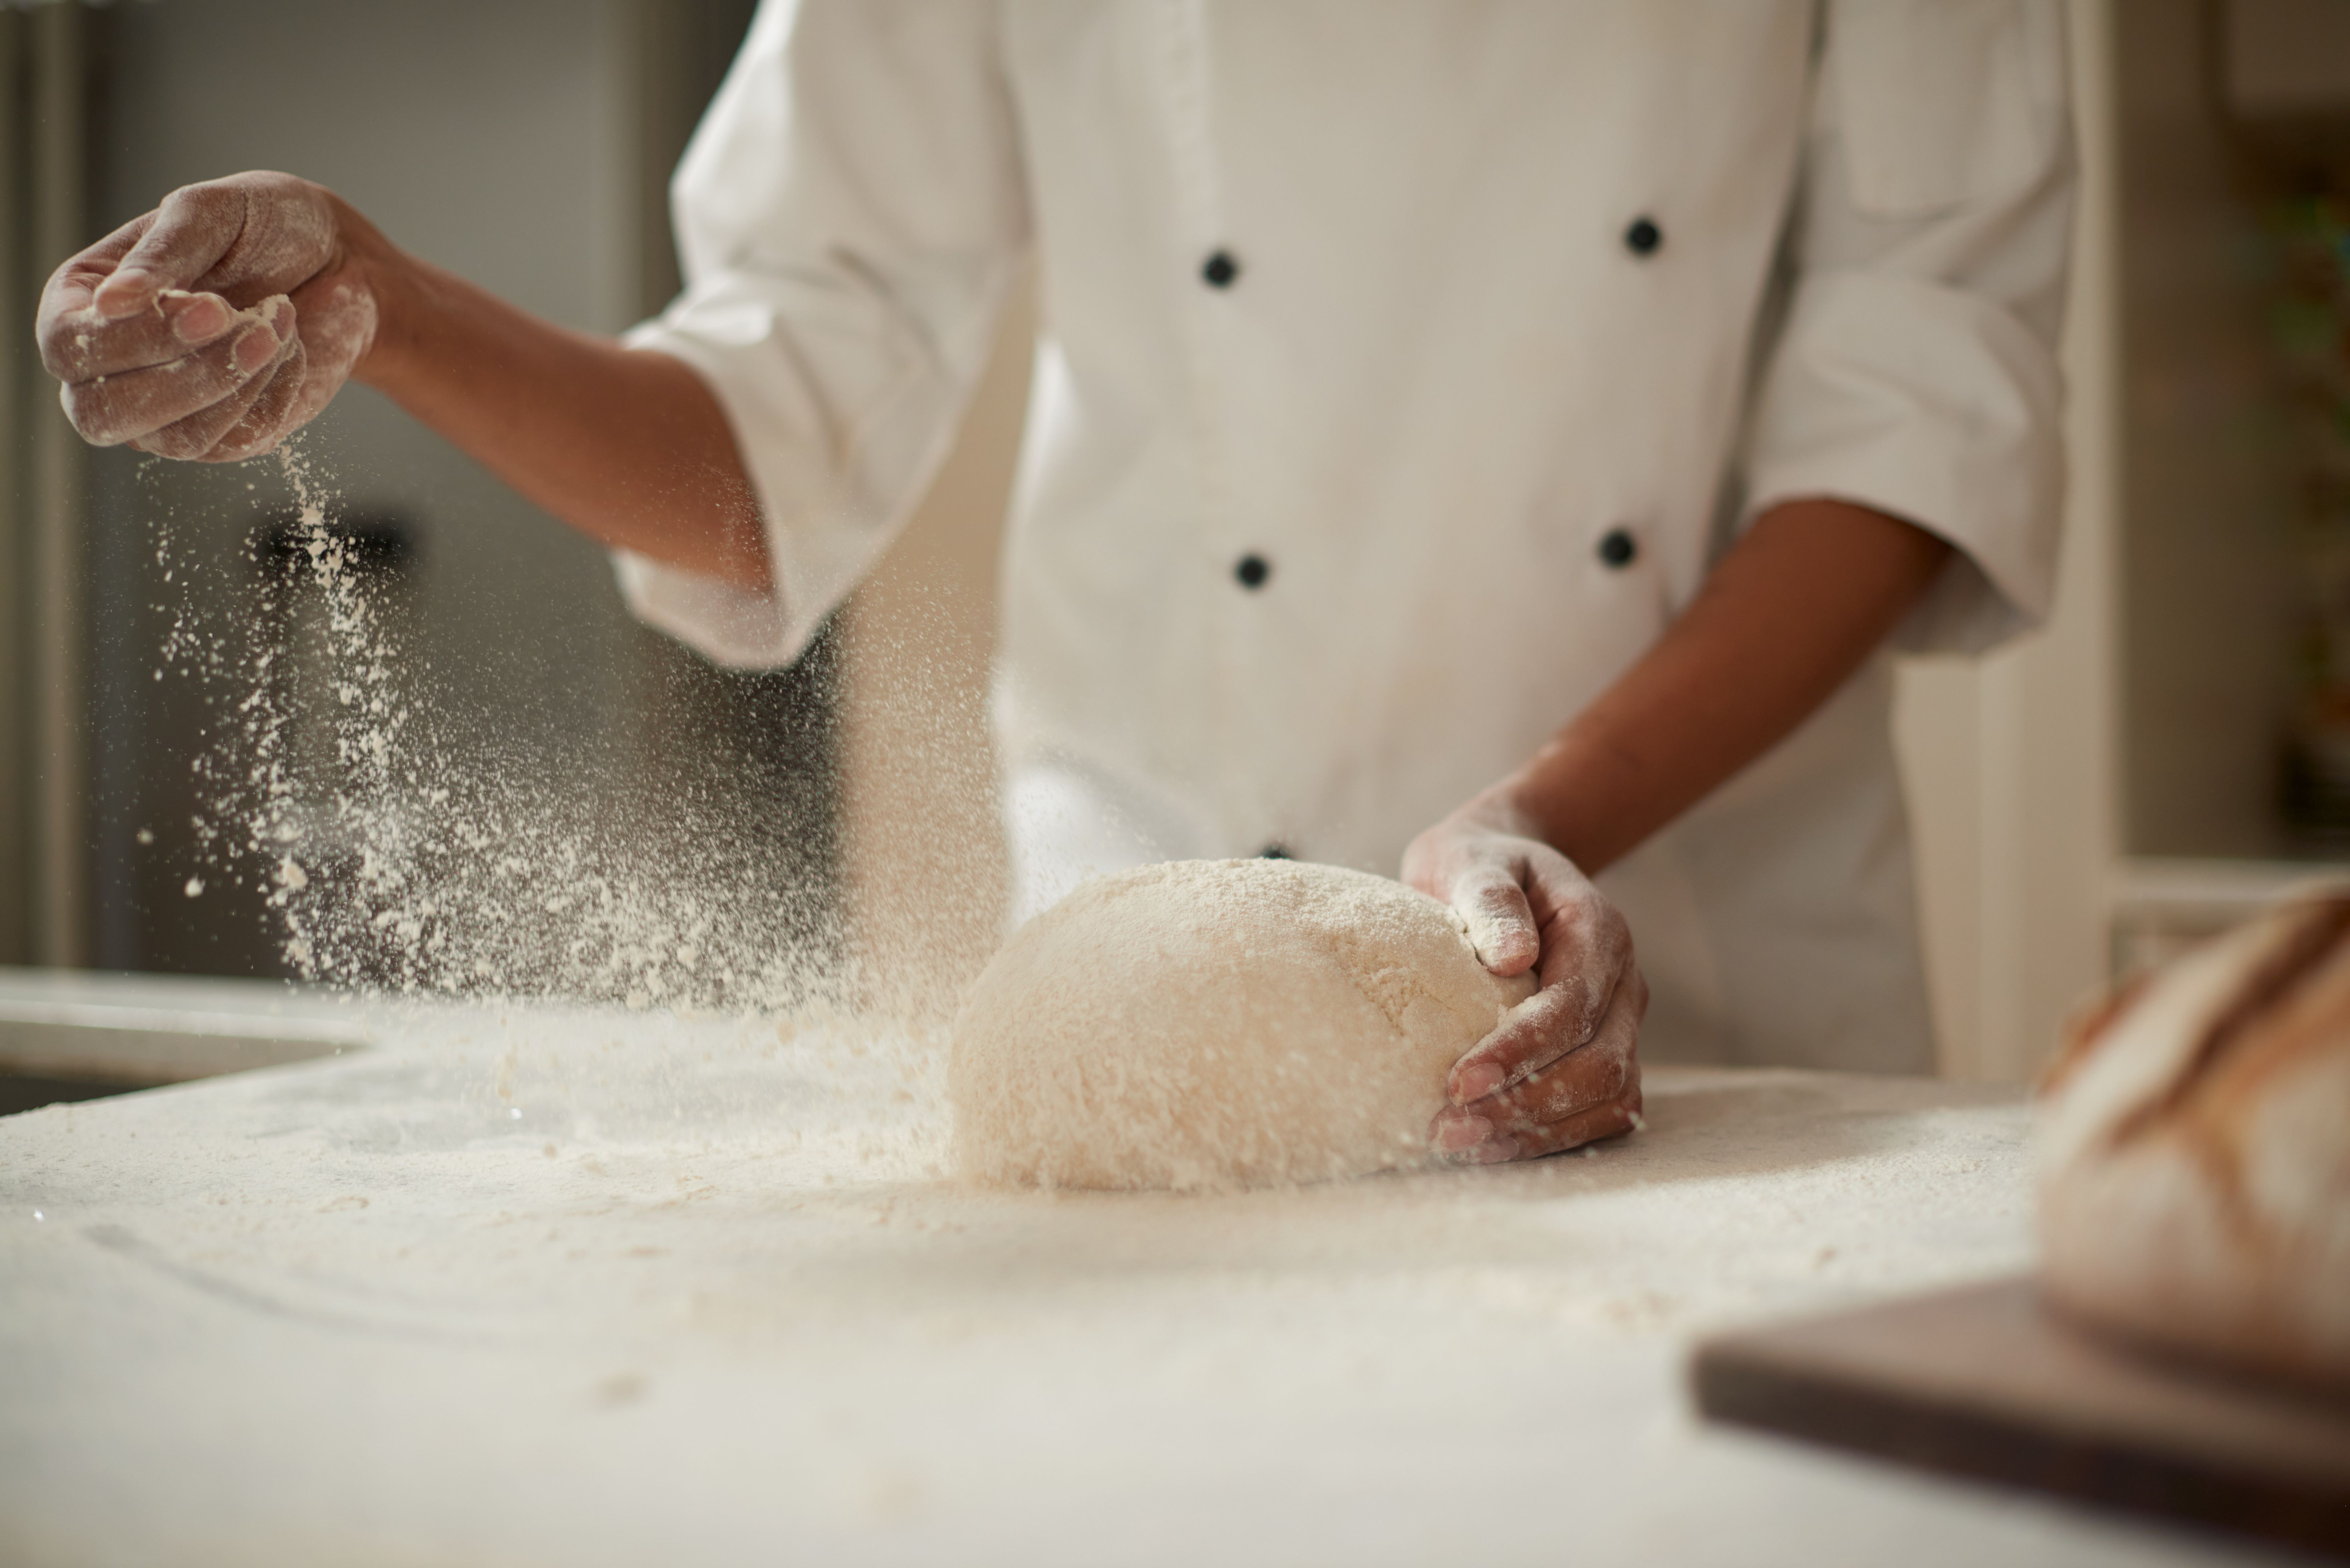
Once you've gathered your ingredients, it's time to mix them together. Start by dissolving yeast in warm water with a pinch of sugar to activate it. Combine this mixture with your flour and salt to form a sticky dough.
Kneading is a critical step that develops gluten in the dough, giving bread its structure. It involves folding and pressing the dough repeatedly until it becomes smooth and elastic. This process typically takes about 10 minutes by hand.
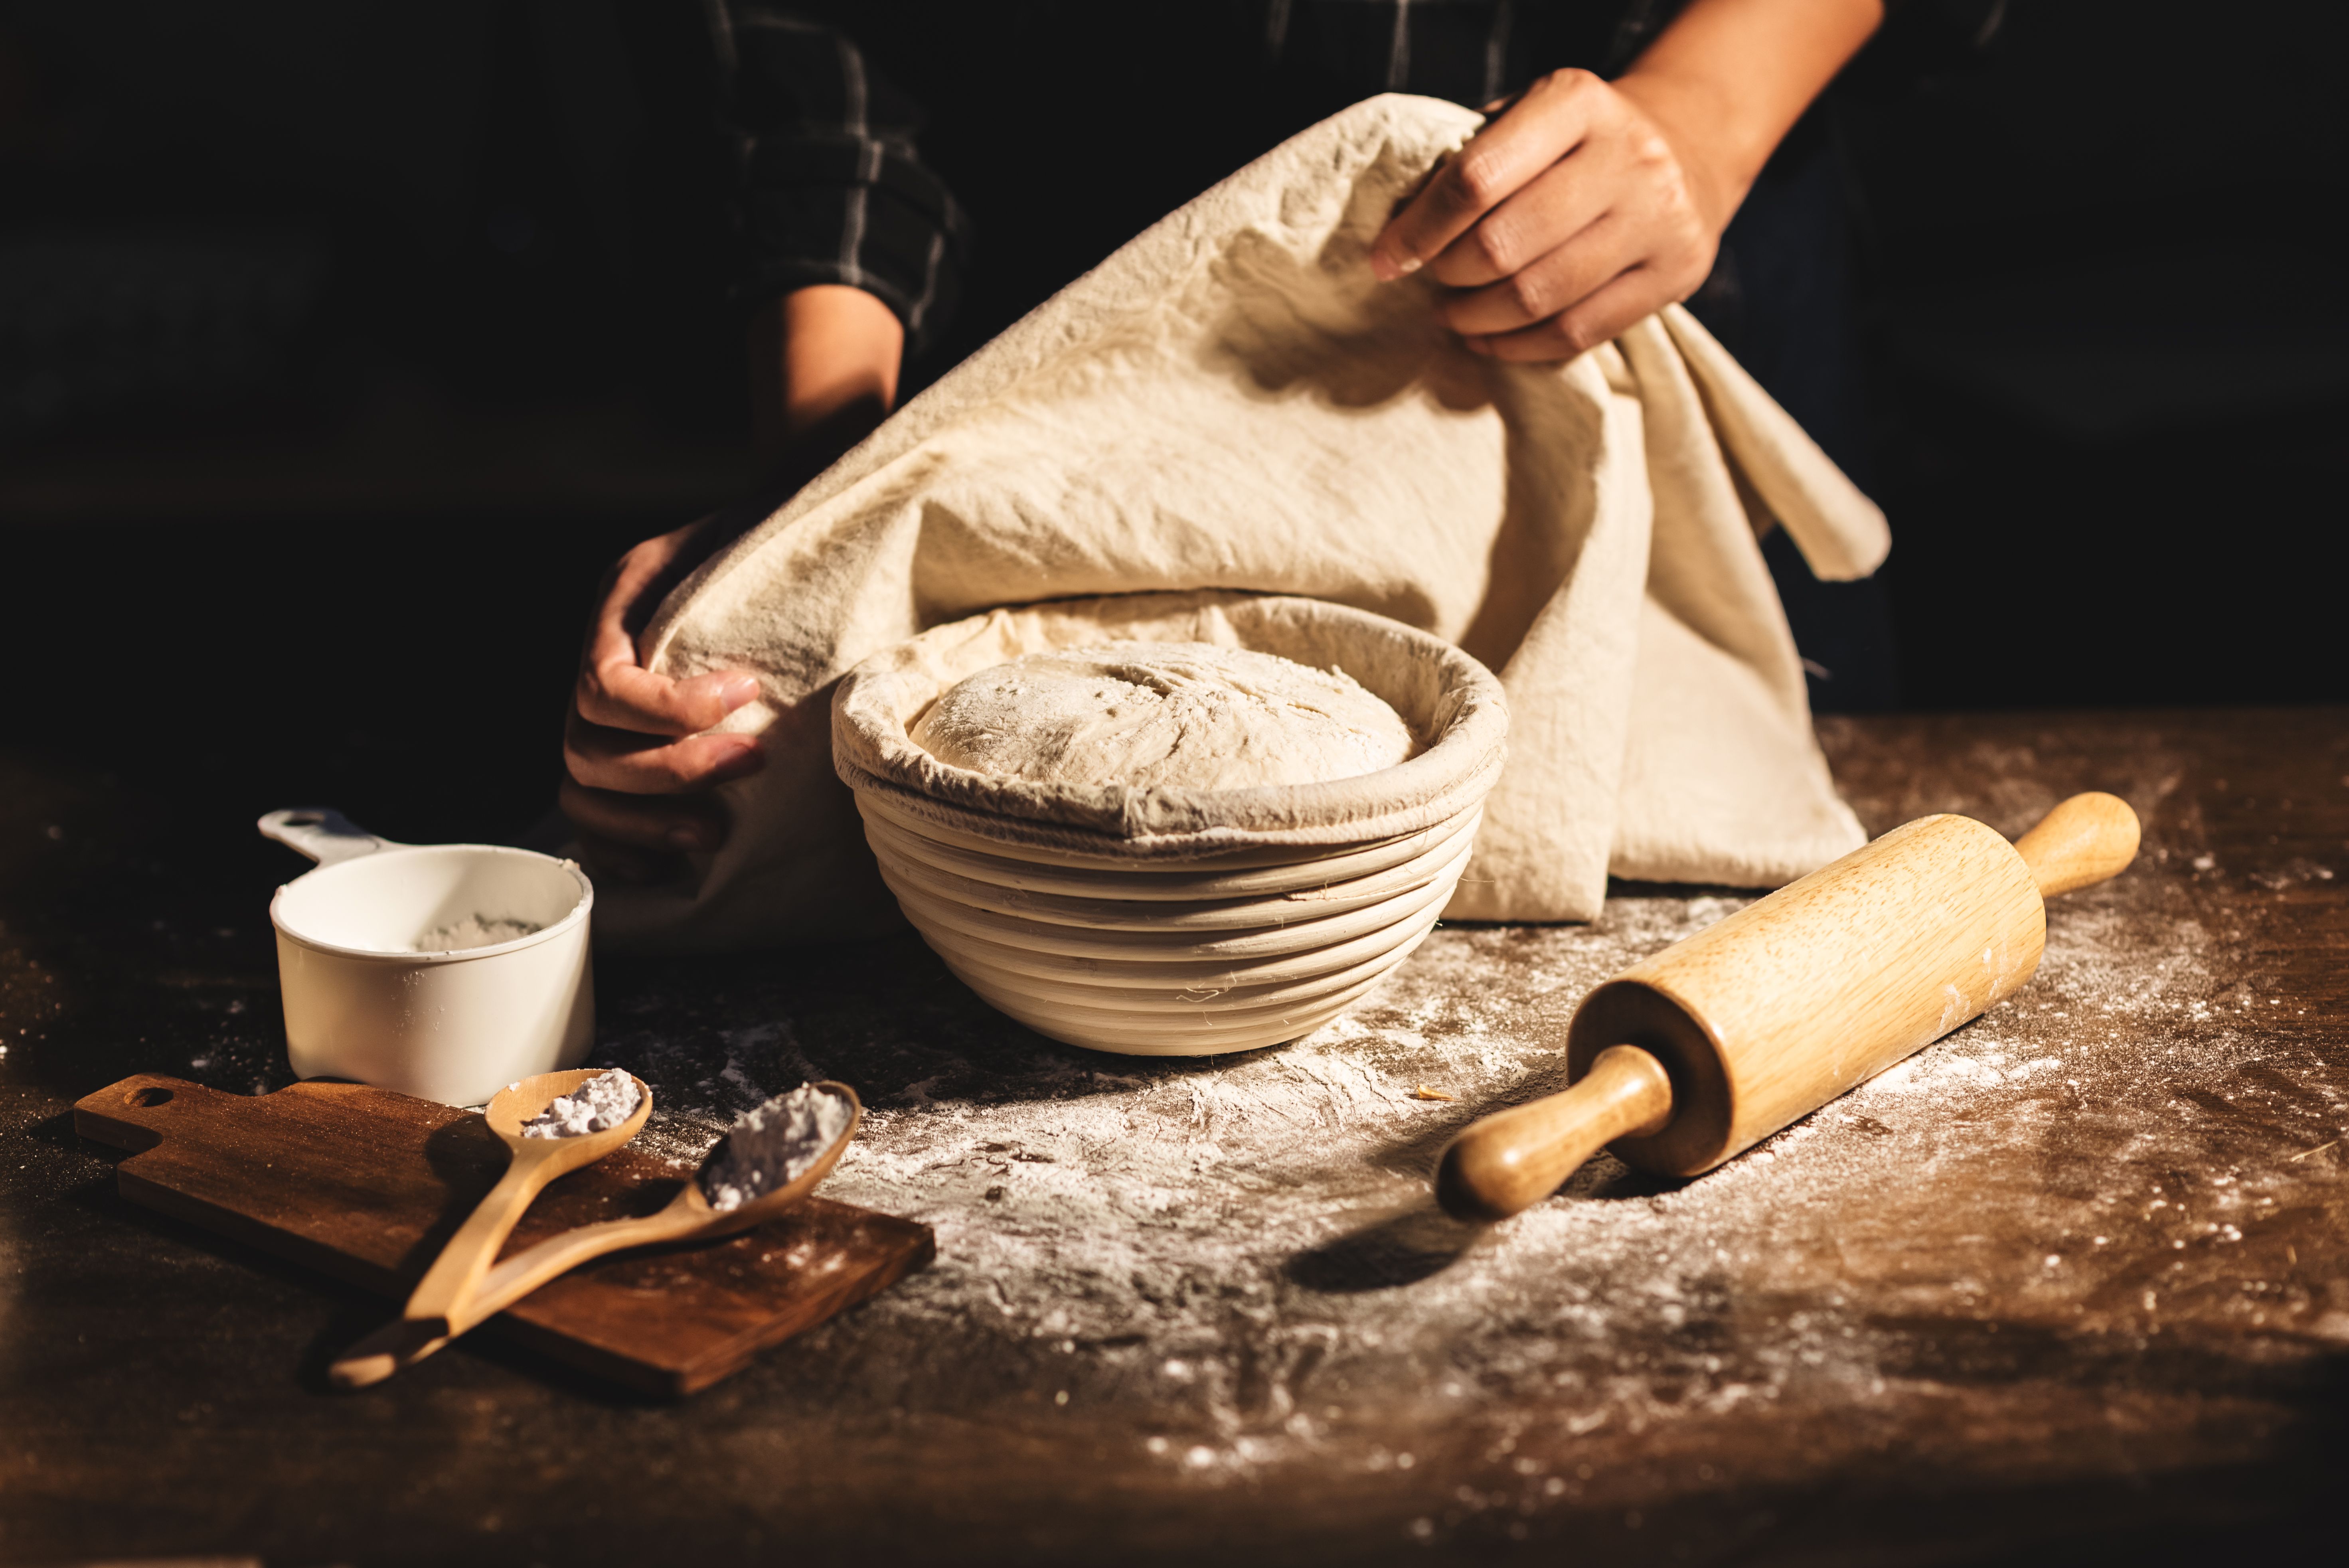
Proofing the Dough
After kneading, allow your dough to rest and rise in a warm, draft-free environment. This stage is known as proofing or fermentation. Cover your bowl with a damp cloth or plastic wrap to keep moisture in while the dough doubles in size, which usually takes one to two hours.
The proofing process is crucial for developing flavor and texture. During this time, the yeast continues to ferment, producing a richer taste and lighter crumb.
Shaping and Final Proof
Once your dough has risen, gently punch it down to release excess gas. Then, shape it into your desired form—whether it's a classic loaf, baguette, or rolls—and place it onto a baking sheet or in a loaf pan for the final proof.
This second rise allows for further fermentation and ensures that your bread will have an airy crumb and beautiful finish. Depending on room temperature, this step can take 30 to 60 minutes.
Baking to Perfection
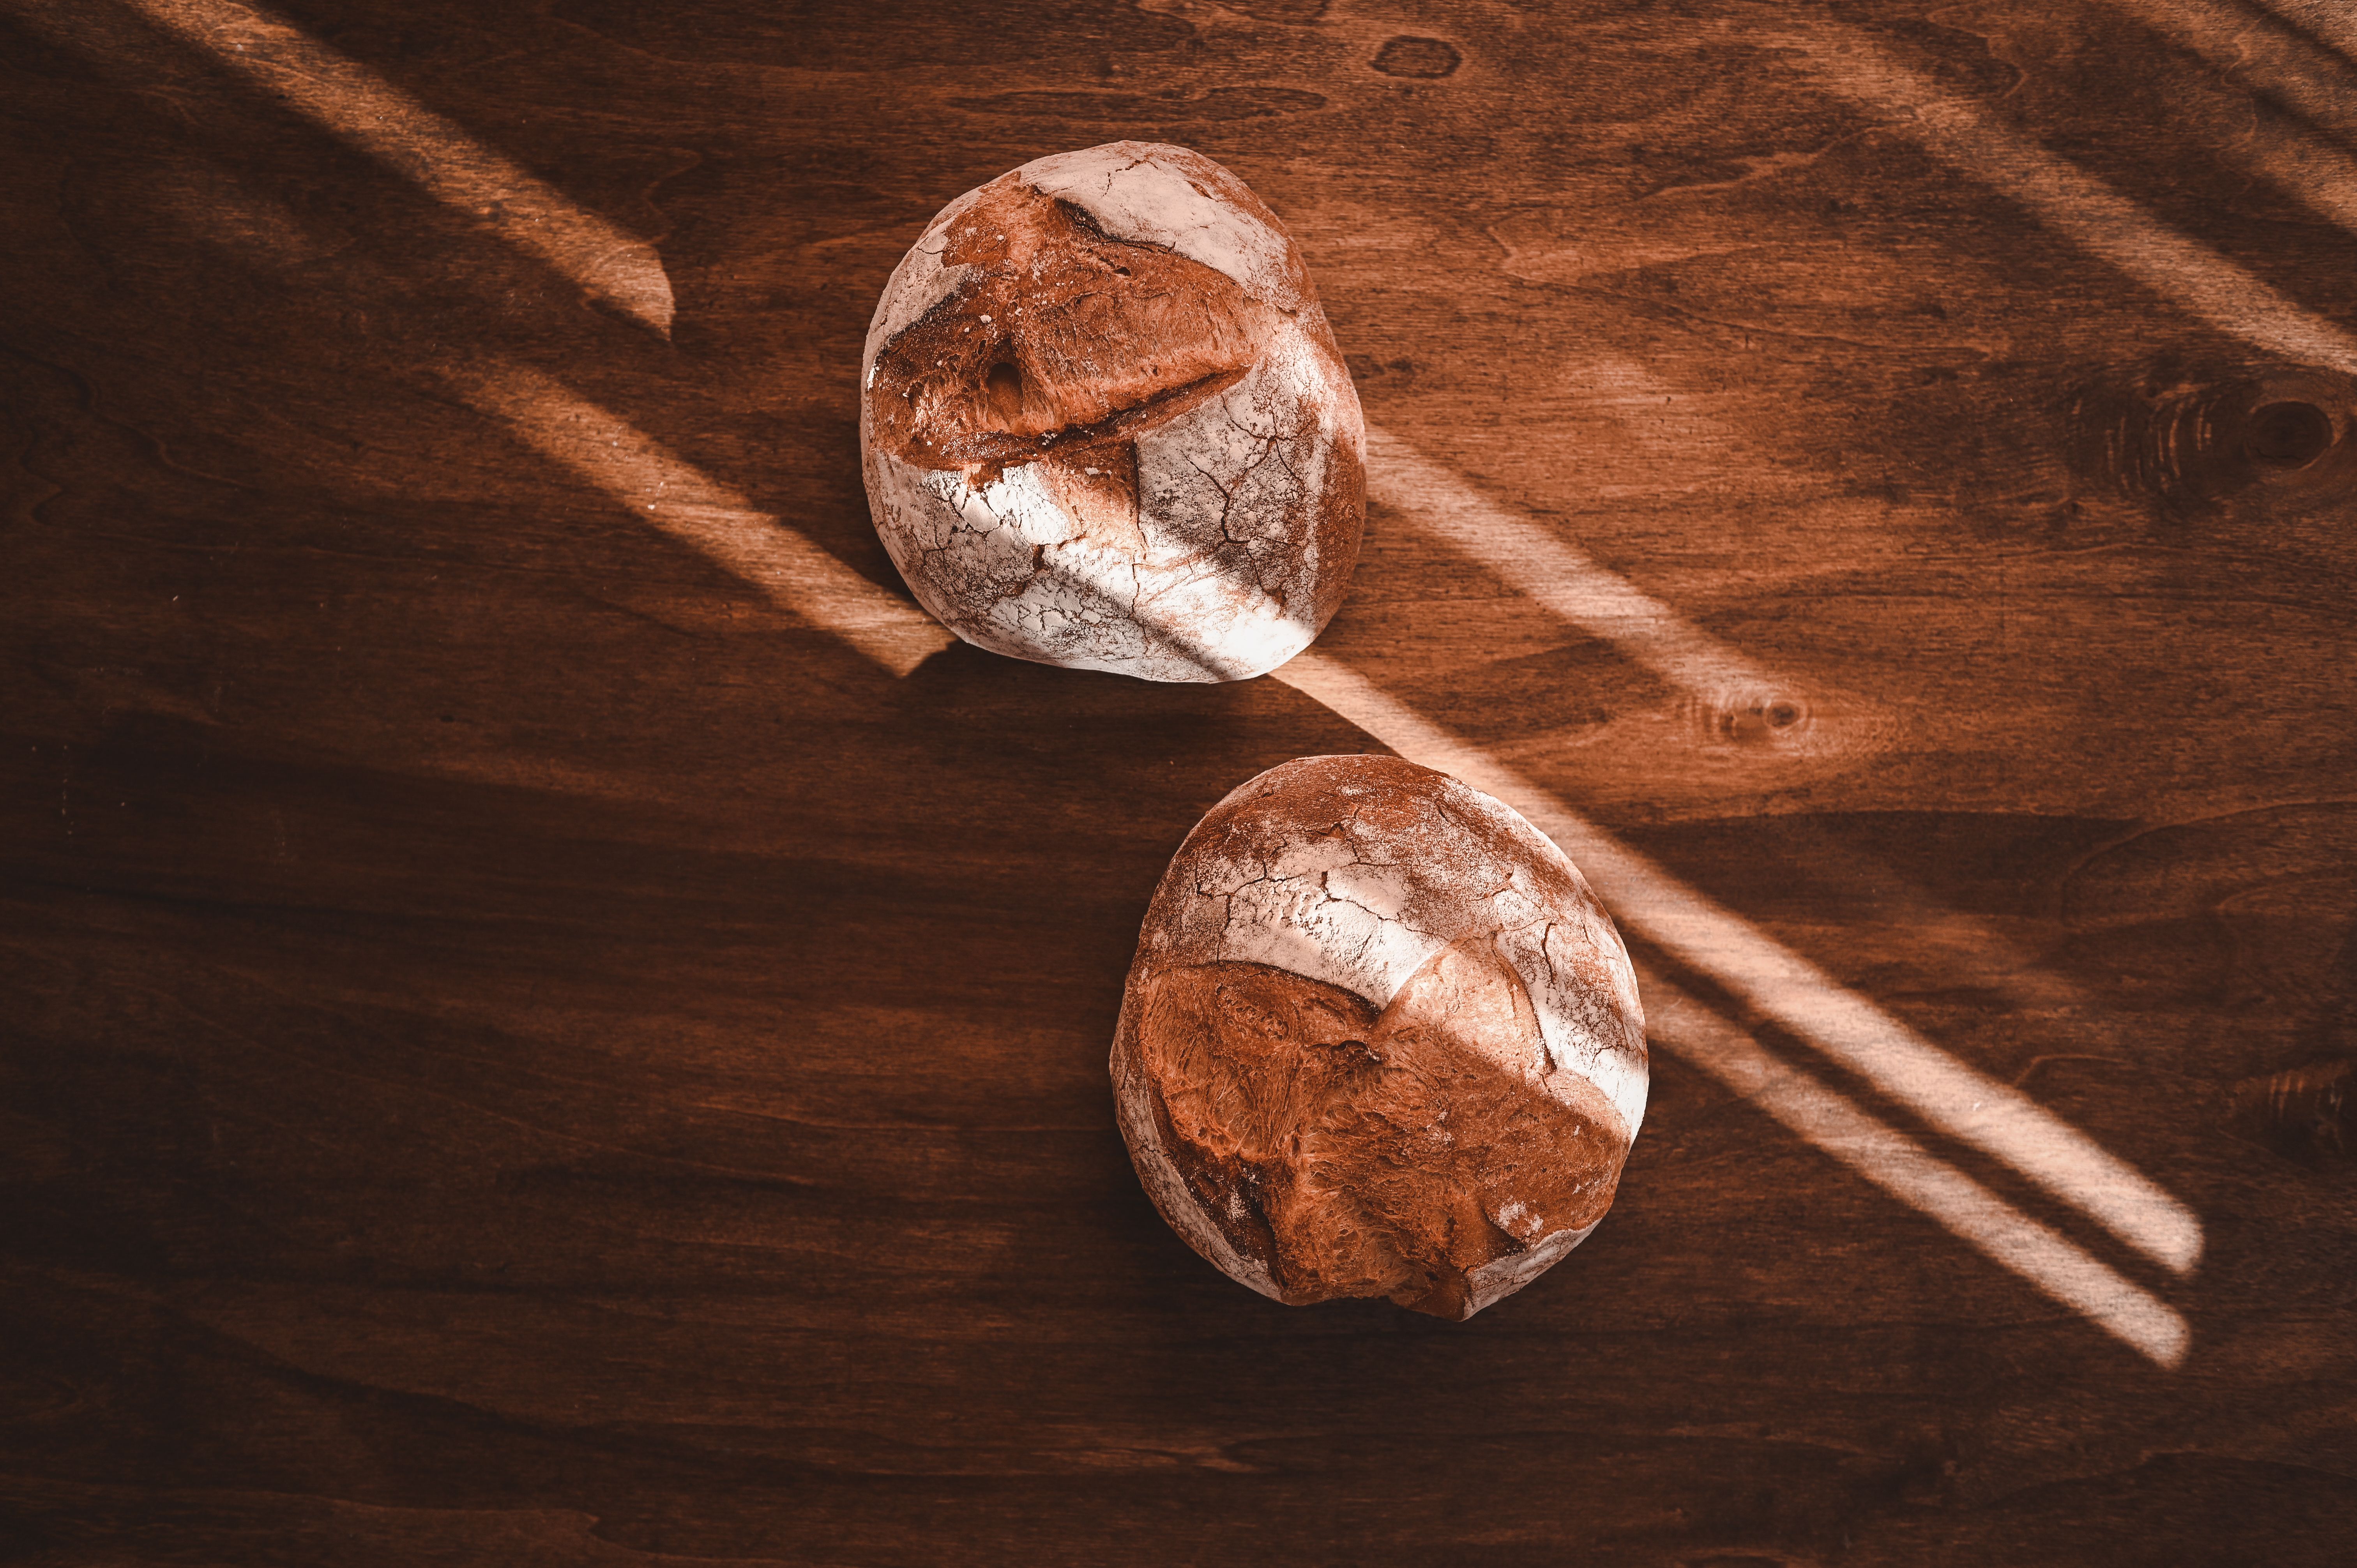
Preheat your oven to the recommended temperature before baking your bread. A hot oven is crucial for creating a good crust and allowing the bread to rise properly during baking. Place your dough in the oven and bake until it is golden brown and sounds hollow when tapped on the bottom.
Once baked, let your bread cool on a wire rack. This cooling period allows moisture within the loaf to distribute evenly, enhancing its flavor and texture.
Conclusion
Mastering bread making requires patience and practice, but with each loaf you bake, you'll gain confidence and improve your technique. From selecting ingredients to perfecting your kneading method, every step plays a role in crafting delicious homemade bread. So roll up your sleeves, embrace the process, and enjoy the delightful aroma of freshly baked bread wafting through your kitchen.